Methi Roti with Fresh Curd
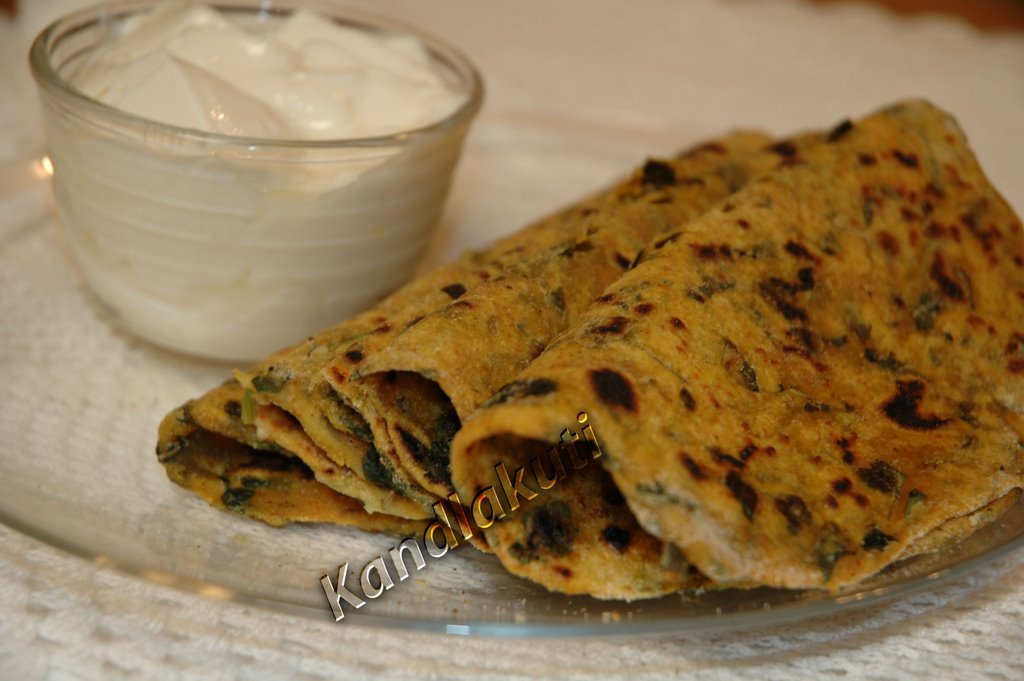
Methi roti is a simple yet healthy dish for breakfast or lunch or dinner. They are not only easy to prepare also will stay fresh for 2 to 3 days (no need to store in refrigerator). They taste great with any 'hot' chutney i.e., spicy. Also goes well with fresh curd. With out any delay here is my recipe for methi roti's also for fresh home made low fat curd, since I got some request from Pavani of Cook's Hideout and Shaheen of Malabar Spice's for detail method post on setting curd.
Ingredients For Methi Roti:
---------------------------------------
2 cups of wheat flour
1 1/2 tsp salt (or as per taste)
1 1/2 tsp chillipowder
1/4 tsp turmeric powder
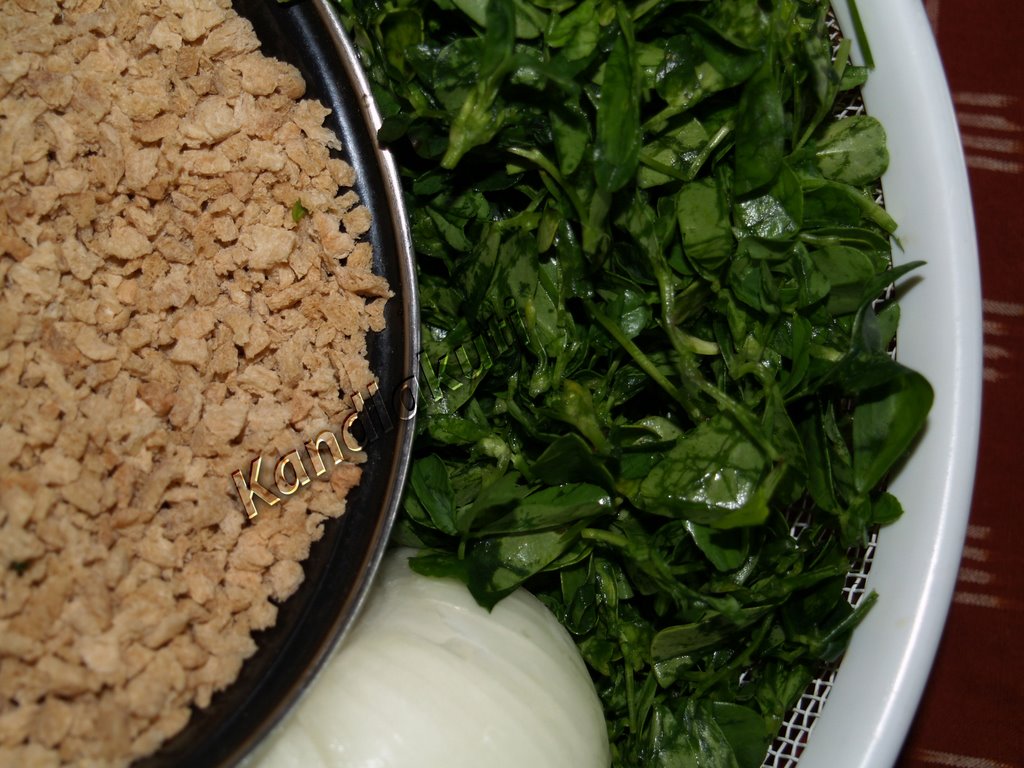
2 bunches of fresh fenugreek leaves( preferably small leaves bunch)
oil for cooking (little oil required to make roti's)
water for making dough (preferably warm water)
Method For Making Methi Roti's:
-------------------------------------------

Before giving you detail method for setting curd at home, I would like to say some simple points to remember. I use, 1% reduced fat organic milk for setting curd, which taste little less sweeter than 2% reduced fat milk. As we all knew whole milk taste great as per the taste is concerned. So its upto your choice to choose any kind of milk, irrespective of that, the method is same for all. Here I go...
Method For Setting Curd:
---------------------------------
Ingredients For Methi Roti:
---------------------------------------
2 cups of wheat flour
1 1/2 tsp salt (or as per taste)
1 1/2 tsp chillipowder
1/4 tsp turmeric powder
2 bunches of fresh fenugreek leaves( preferably small leaves bunch)
oil for cooking (little oil required to make roti's)
water for making dough (preferably warm water)
Method For Making Methi Roti's:
-------------------------------------------
- Separate fenugreek leaves from the bunches, and wash them well in the cold water.
- Cut them very small as much as possible.
- Take flour in a wide and depth mixing bowl. Add salt, fenugreek leaves, chillipowder, turmeric powder and 2 to 3 tsp of oil.
- Mix well all above ingredients with the flour and make a dough like you make for chapathis with warm water.
- Set aside for 15 minutes.
- Heat tawa( or pan for making chapathis). Meanwhile divide dough into equal portions a/c to the size you desire to make a roti ( I made little bigger than the round we make generally for pulka).
- Take a round and make a flat round like pulka and with little oil cook on tawa, on both the sides well by maintaining medium heat all through. (they should be cooked well, so that they stay fresh for couple of days, if you are making in lots)
- Repeat with other rounds too. Now have them hot or cold with any chutney or fresh curd. You will enjoy.

Before giving you detail method for setting curd at home, I would like to say some simple points to remember. I use, 1% reduced fat organic milk for setting curd, which taste little less sweeter than 2% reduced fat milk. As we all knew whole milk taste great as per the taste is concerned. So its upto your choice to choose any kind of milk, irrespective of that, the method is same for all. Here I go...
Method For Setting Curd:
---------------------------------
- Heat milk in a container till they boils well. i.e., once they boil and are raised till up of the container, reduce the heat and stir milk with a spoon and allow to boil again for few more minutes.
- See that they don'nt change color from white to some what pinkish. Also see that the base does'nt burn. So select clean container, preferably always use the same one for setting curd. ( I use always the same container for setting curd to avoid any bad smell or breaking of milk while boiling, which can happen if containers are not cleaned well once in a while).
- Now remove from heat, and allow it to cool down for a while. This is first important step to remember for setting curd. Milk should me so warm that you should be able to put your fingure in the milk. If you remove it immmedietly i.e., unable to put your fingure any longer that means milk should cool down to further less temperature.
- In winter, milk can be little more warmmer than usual one.
- Second step is, take 1/4th tsp of left over curd or little less than that also is ok. Mix in the milk ready to set for curd, by taking little milk in the same teaspoon and mix that curd with milk using your finger and later mix in the container with rest of the milk very well.
- Now close the container i.e., airtight and keep in the warm place preferably oven. Set oven to warm setting and keep this container in it, for overnight or atleast upto 6 to 8 hrs by checking after 6 hrs once in a while. This is to avoid tangy taste. (''pullaga antaru kada telugulo adi'')
- Remove from oven and refregerate immmedietly if not using then for fresh and chilled curd to have later.
- The fresh home made curd is ready:-))
Labels: breakfast, curd, fenugreek leaves, home made yogurt, methi, methi roti, perugu, yogurt